How to create church Facebook page will be taught in this article.
Having an online presence is no longer optional—it’s essential.
For churches, a Facebook page is one of the most effective ways to connect with your congregation, reach new members, and share the love of Christ with the world.
Whether you’re tech-savvy or a complete beginner, creating a Facebook page for your church is easier than you might think.
Let’s walk through the process together, step by step, and I’ll share some tips to make your page stand out.
Why Your Church Needs a Facebook Page
Before we dive into the “how,” let’s talk about the “why.” Why should your church have a Facebook page? Here are a few reasons:
- Stay Connected with Your Congregation: A Facebook page allows you to share updates, event details, and inspirational messages with your members in real-time.
- Reach New People: Facebook’s reach is global. Your page can help you connect with people in your community who might not otherwise step foot in a church.
- Share Sermons and Teachings: Posting videos or summaries of your sermons can extend your ministry beyond Sunday mornings.
- Build a Sense of Community: A Facebook page can be a space for members to interact, pray for one another, and share testimonies.
Now that we’ve established the importance of a Facebook page, let’s get started on creating one!

Step 1: Set Up Your Facebook Account (If You Don’t Already Have One)
If you don’t already have a personal Facebook account, you’ll need to create one. Don’t worry—this account is just for setting up and managing your church’s page. You won’t be using it to post personal content.
- Go to Facebook.com.
- Click on “Create New Account.”
- Fill in your name, email or phone number, password, birthday, and gender.
- Follow the prompts to verify your account.
Once your personal account is set up, you’re ready to create your church’s page.

Step 2: Create Your Church’s Facebook Page
- Log into Your Facebook Account: Use the account you just created (or your existing one).
- Navigate to the “Pages” Section: On the left-hand side of your Facebook homepage, click on “Pages.” Then, click the “Create New Page” button.
- Choose a Page Type: Facebook will ask you to choose a category. Select “Religious Organization” from the dropdown menu.
- Enter Your Church’s Name: This should be the official name of your church. Keep it simple and recognizable.
- Add a Category: Type in something like “Christian Church” or “Non-Denominational Church” to help people find you.
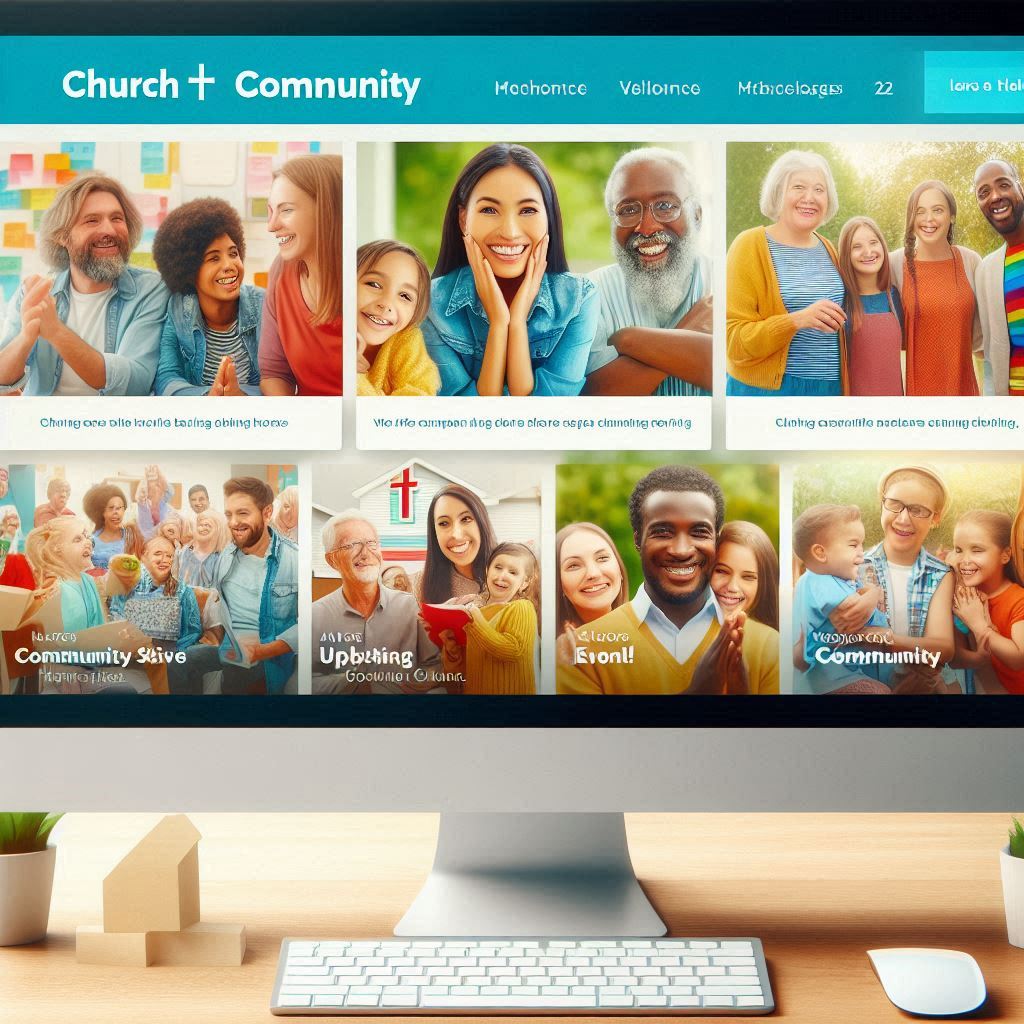
- Upload a Profile Picture: This is the first thing people will see, so choose wisely. Your church logo or a photo of your building are great options. Make sure it’s clear and high-quality.
- Add a Cover Photo: This is the large banner image at the top of your page. You could use a photo of your congregation, a Bible verse graphic, or an image that represents your church’s mission.
Step 3: Fill Out Your Page Information
Now that your page is created, it’s time to add details that will help people learn more about your church.
- Add a Short Description: This is a brief summary of your church that appears under your profile picture. Keep it concise but inviting. For example: “A welcoming community of faith dedicated to sharing God’s love and serving our neighbors.”
- Add Contact Information: Include your church’s address, phone number, email, and website (if you have one). This makes it easy for people to reach out or visit.
- Set Your Page’s Username: This is also known as your Facebook URL (e.g., facebook.com/YourChurchName). Choose something simple and easy to remember.
- Add Your Service Times: Under the “About” section, include your worship service times and any other regular events.
Step 4: Customize Your Page
A well-designed page is more inviting and professional. Here’s how to make yours stand out:
- Create a Call-to-Action Button: This button appears at the top of your page and can be customized to say things like “Contact Us,” “Learn More,” or “Watch Now.” Choose an action that aligns with your goals.
- Pin Important Posts: If you have an upcoming event or a special announcement, pin it to the top of your page so it’s the first thing visitors see.
- Organize Your Tabs: Facebook allows you to customize the tabs on your page. For example, you can add a “Events” tab, a “Photos” tab, or even a “Donate” button if your church accepts online donations.
Step 5: Start Posting Content
Now comes the fun part—sharing content! Your Facebook page is a reflection of your church’s mission and personality, so make sure your posts align with your values. Here are some ideas to get you started:
- Share Sermons: Post videos or summaries of your Sunday messages. You can also go live during services to reach those who can’t attend in person.
- Post Inspirational Content: Share Bible verses, devotionals, or encouraging quotes to uplift your followers.
- Promote Events: Use your page to spread the word about upcoming events like Vacation Bible School, community service projects, or holiday celebrations.
- Highlight Testimonies: Share stories from members of your congregation about how God has worked in their lives.
- Engage with Your Audience: Ask questions, create polls, or post fun content like “Fill-in-the-Blank Friday” to encourage interaction.

Step 6: Invite People to Like Your Page
A Facebook page is only as effective as its audience. Here’s how to grow your following:
Invite Your Personal Network: Use the “Invite Friends” feature to ask your personal Facebook friends to like your church’s page.
Promote Your Page in Church: Announce your new Facebook page during services and include the link in your bulletin or newsletter.
Share Your Page on Other Platforms: If your church has an Instagram, Twitter, or website, share your Facebook page there as well.
Encourage Your Congregation to Engage: Ask members to like, share, and comment on your posts to increase visibility.

Step 7: Monitor and Engage
Creating a Facebook page is just the beginning. To make it successful, you’ll need to actively manage it. Here’s how:
- Respond to Messages and Comments: If someone sends you a message or leaves a comment, respond promptly and kindly. This shows that your church cares about its online community.
- Analyze Your Insights: Facebook provides analytics (called “Insights”) that show how your posts are performing. Use this data to see what type of content resonates most with your audience.
- Post Consistently: Aim to post at least a few times a week to keep your page active and engaging.

Bonus Tips for a Standout Church Facebook Page
- Use High-Quality Visuals: People are drawn to beautiful images and videos. Invest in good photography or use free tools like Canva to create eye-catching graphics.
- Go Live Regularly: Facebook Live videos are a great way to connect with your audience in real-time. Consider going live for prayer meetings, Bible studies, or special events.
- Collaborate with Other Churches or Ministries: Partnering with other local churches or Christian organizations can help you reach a wider audience.
- Stay Positive and Encouraging: The internet can be a negative place, so let your page be a beacon of hope and encouragement.
Conclusion
Creating a Facebook page for your church is a simple yet powerful way to expand your ministry and connect with your community.
By following these steps, you’ll have a professional, engaging page that reflects the heart of your church. Remember, your Facebook page is more than just a tool—it’s an extension of your ministry.
Use it to share the love of Christ, build relationships, and make a lasting impact.
So, what are you waiting for? Start creating your church’s Facebook page today, and watch how God uses it to reach people in ways you never imagined.
And if you have any questions along the way, don’t hesitate to reach out—I’m here to help!